This article mainly helps artisankeycaps players solve the problem of adjusting the tightness of some rhizomes (players in different regions have different names for this cylindrical socket, so I used rhizomes to describe the entire article). It is also the most common major issue among players of ArtisanKeycaps.
Actually, many people may wonder why the elasticity of roots and stems cannot be adjusted properly during production?
This is a very good question. Firstly, artisankeycaps keycaps are all made of resin, which has elasticity. It may have some elasticity issues based on the local temperature in your area. Based on my years of production experience, many authors have also used 3D printing to make prototypes. In fact, the precision, materials, and even different machine printing of 3D printing can affect the subtle changes in the roots and stems, which may determine the elasticity of a batch of products.
In summary, the issue of tightness in artisankeycaps and resin keycaps is a common phenomenon, but it cannot be considered a major quality problem. It can be adjusted later to achieve the best state. Below, we will divide the adjustment methods into two aspects: "loose" and "tight", hoping to be helpful to you.
The solution to artisankeycaps being too tight.
1: You can use some props at home, such as a hair dryer aimed at the bottom of the keycap to blow hot air. After our testing, the resin can actually soften at around 35-50 degrees, and then slowly insert it with a prepared switch shaft cross (if it feels a bit difficult, you can increase the temperature or the roots may have cooled down, you can try to operate it tightly when the temperature is relatively high)


2: If you don't have a hair dryer, you can also use hot water instead. You can find a cup, pour in hot water at about 60-80 degrees Celsius, soak the artisankeycaps in it, soften the roots, and slowly insert them into the prepared switch shaft cross.


3: There are actually some professional expansion tools available on my website, but the principle is the same. The resin keycaps need to be heated and softened before expansion, otherwise they are prone to breakage because the resin is brittle in some colder regions. Therefore, if the root and stem break during the process of inserting the keyboard, it will be difficult to repair.


The solution to artisankeycaps being too loose.
1: In fact, the simplest solution if the artisankeycaps are too loose is to stuff paper into the roots. You can use paper such as toilet paper because it is relatively soft and easy to handle, but also be careful not to stuff too much, otherwise it may easily burst the roots. You can also place a small amount of toilet paper on the switch cross and gently press the keycaps to slowly insert them on your own.


2: If you feel that stuffing paper is inconvenient or aesthetically pleasing, as well as cleaning paper scraps, and want to adjust it in one go, you can also use heating to soften the roots of artisankeycaps. After that, we can use tools such as pliers and clips to clamp the roots. Of course, some may deform, but if you can accept it, it can be adjusted to your desired tightness. (Here's a mention, tools for adjusting elasticity are available for sale on websites, but whether they are effective or not depends on the individual.)

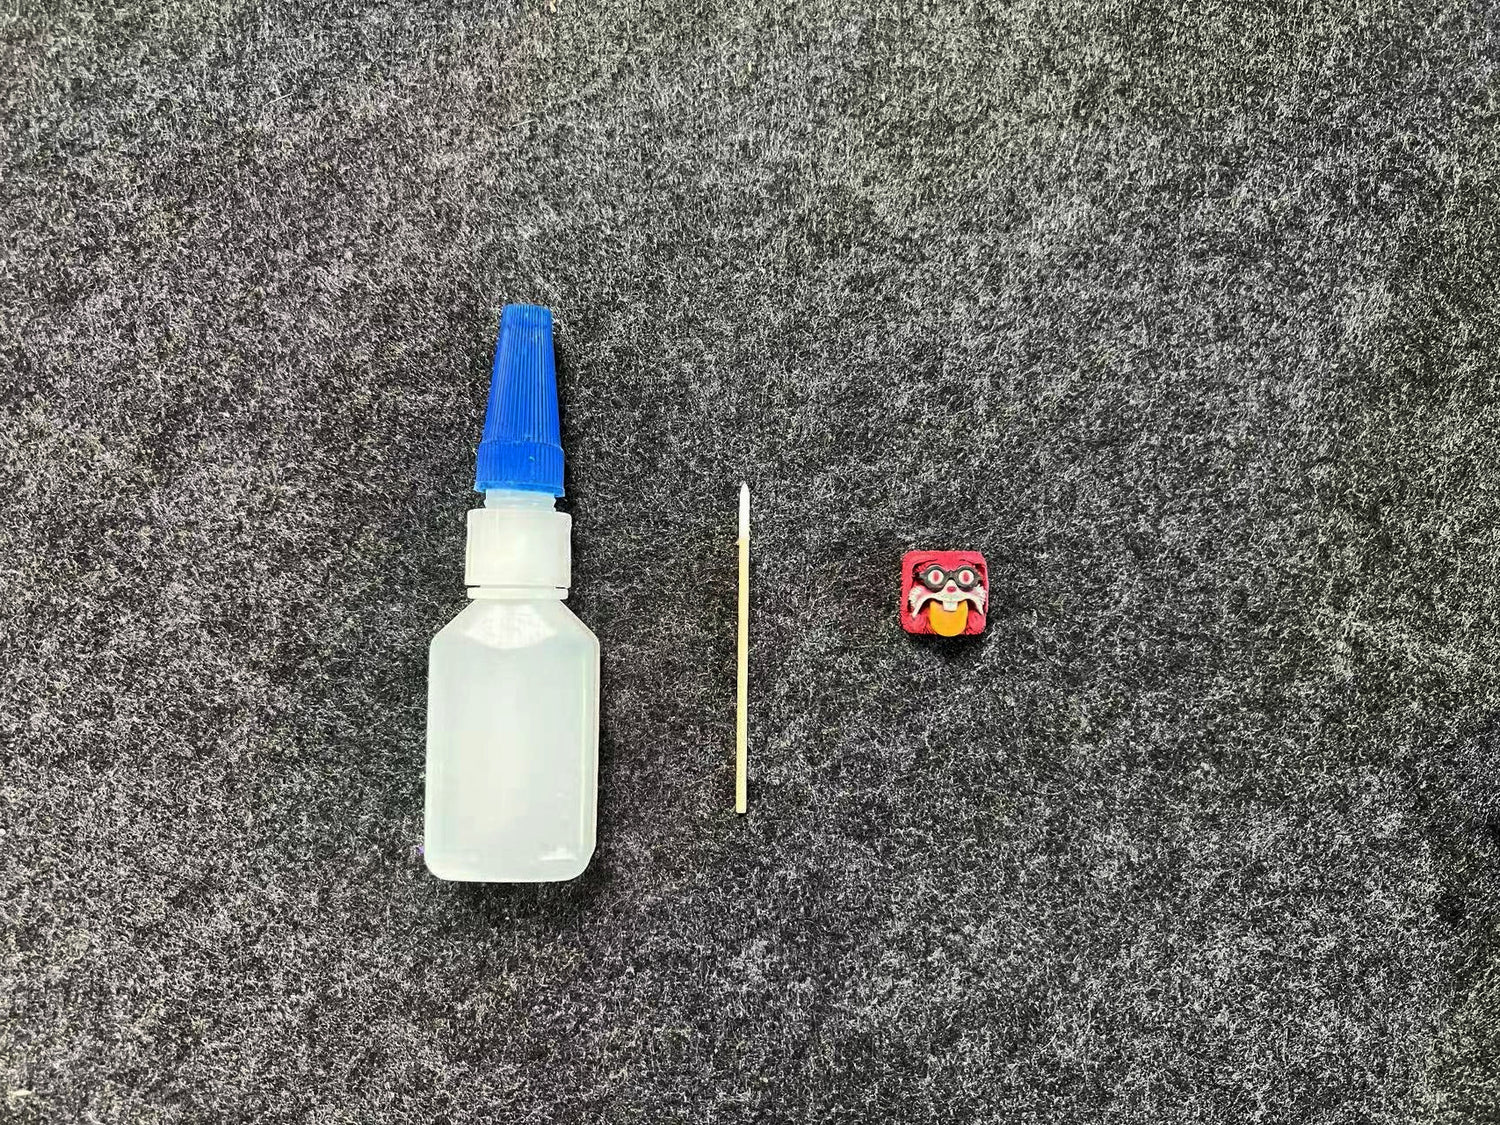
3: If you are not satisfied with either of the above two points, you can try the third one, which is reinforced inside the roots and does not affect the external appearance. I won't have to reset it after replacing the keyboard. We can apply glue to the inside of the rhizome. Generally, we use a toothpick or a fine cotton swab to dip in the glue and then apply it. It is best to use a quick drying type of glue because the resin itself will react with the glue, which will make the inner wall of the rhizome thicker. Therefore, our operation should be faster. First, apply a thin layer. After it dries, you can insert the switch cross to test the tightness. If you are not satisfied, you can repeat the above operation. It should be emphasized here that you must wait until the glue is completely dry before inserting the keyboard or switch, otherwise a serious tragedy may occur.... If you accidentally make the roots too tight or apply too much glue, you can also use something hard to remove them until the tightness is satisfactory.


Overall, I am also an author of artisankeycaps, and I hope to make the roots and stems directly elastic and suitable. We will also try our best to produce more complete products. But if there are any problems, we will actively solve them. Handmade products have many small details, and we hope everyone can be tolerant and understanding,
Thank you all for your support.